Pickled Garlic Scapes - Simple Canning Recipe (Video)
Pickled garlic scapes are a tasty treat to have in the winter when fresh vegetables are hard to come by. They are similar to pickled asparagus and make a great side for almost any meal. We like to eat them with a sandwich or hot dogs and potato salad. This simple and easy canning recipe is a great way to preserve garlic scapes, and is one of our favorite pickled foods in our homestead pantry.

Quick Look: Pickled Garlic Scapes
- ⏱️ Prep Time: 20 minutes
- 🍳 Cook Time: 10 minutes(10 minutes)
- 🕒 Total Time: 40 minutes
- 👥 Servings: 8
- 📊 Calories: ~115 kcal per serving (based on nutrition panel)
- 🔥 Cook Method: Water Bath Canned / Preserved
- 👩🍳 Flavor Profile: Tangy, garlicky, and slightly crisp with bright pickled notes and a savory, aromatic bite.
- ⭐ Difficulty: Easy and straightforward
SUMMARIZE & SAVE THIS CONTENT ON
Jump to:
What are garlic scapes?
Garlic scapes are the flower bud portion of hard neck garlic. Garlic is typically planted in the fall similar to a flower bulb like a tulip, and is one of the first things growing in the early spring garden. As it grows, it gets bigger and produces more leaves and in early summer puts out this curly shoot from the middle of the plant called a garlic scape. For a nice tender scape, harvest when still fairly small. You can harvest it by snapping it off where it joins the plant. If left to grow, these scapes will turn into a garlic flower to help the garlic plant reproduce.
Since we are most interested in harvesting a nice garlic bulb with good sized garlic cloves, we always make sure to pick off all the garlic scapes soon after they appear. This encourages it to put all of the plant's energy into growing a large bulb. If you do not harvest the garlic scapes, the bulb of garlic will be small and not as useful for cooking or re-planting.

How To Use Garlic Scapes
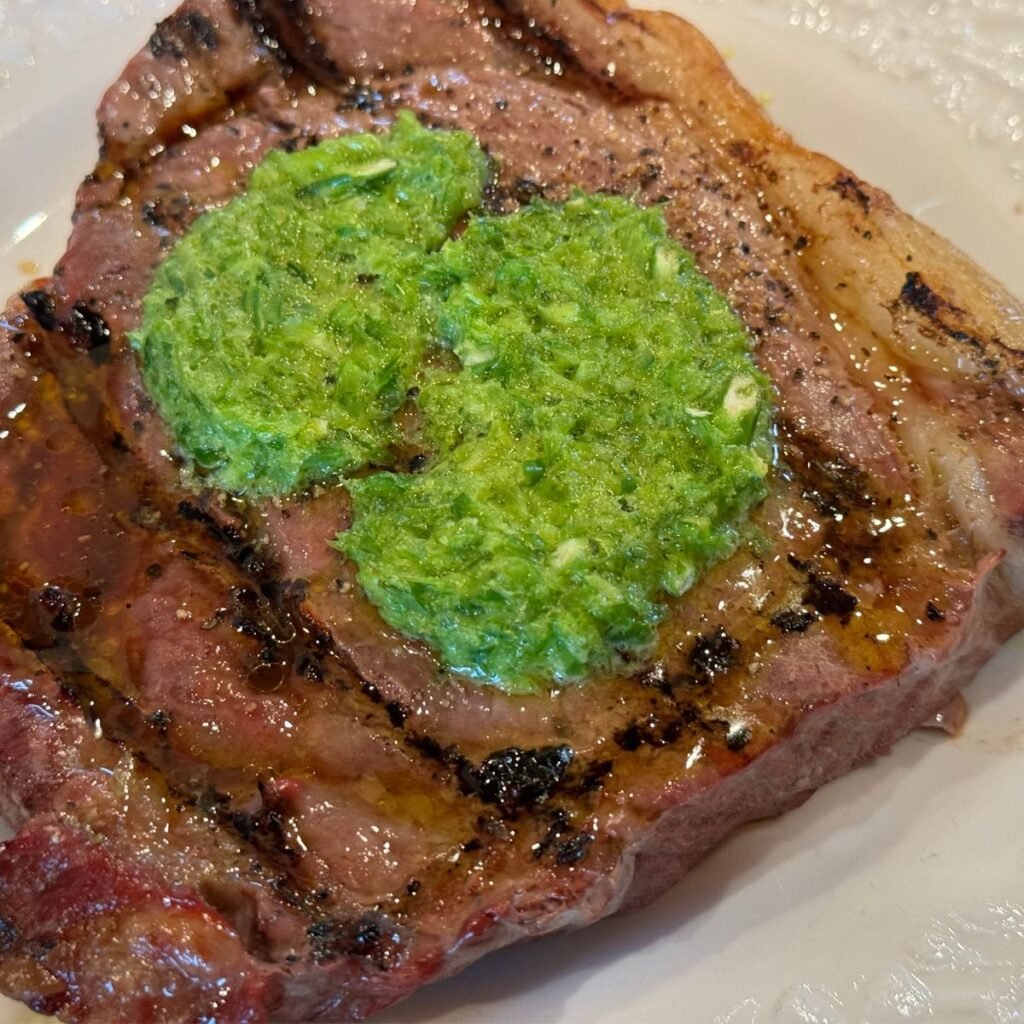
I love garlic scapes so much, that if all I got out of growing garlic were the scapes, then I would be happy! They have a mild garlic flavor and are amazing roasted or sauteed, in garlic scape pesto, pickled, dried into garlic powder, made into compound butter or used in cooking in place of regular garlic. When I harvest garlic scapes, I’m usually running low on my stored garlic from the previous years garden, and ready for something fresh. I use them in place of garlic until we harvest our garlic bulbs about 3-4 weeks after harvesting the scapes, usually in early July. Garlic scapes can be stored in a grocery bag in the refrigerator for at least 4 weeks. This is helpful because you don’t have to process right away after harvesting them.
Tips:
- You can skip the water bath canning portion of this recipe, and just leave these in the refrigerator to be easy refrigerator pickles. I prefer to can them for longer storage and they tend to be a little more tender after going through the cooking process during canning.
- Fresh garlic scapes are best, but scapes will keep well in the refrigerator for quite awhile and still be good pickled. If you don't have your own garlic scapes from your garden, you might be able to purchase some at the local farmer's market.
- You can cut the scapes into pieces to fit into your jars, but I find that their natural curl lets them fit into the jar nicely just like they are.
- I like to fill one jar with scapes, and then fill it up with water. I then dump the water into a measuring cup to see approximately how much brine I’ll need to fill each jar. Then I get the brine heating on the stove while I fill the rest of the jars with scapes.
- It’s also a good idea to get the water heating in the bottom of your pot or canner so it will be ready for processing the filled jars of scapes. You don't need a lot of water, as you don't want the water to come over the top of the jars when canning them. Just to the bottom of the neck of the jars will be fine.
- It’s best to use wide-mouth jars as it’s much easier to stuff the scapes into a wide mouth container.
- Be sure to leave a half inch of headspace at the top of the jar. This will help the jars to seal when they come out of the water bath canner.
- Water bath canning is very simple. Its just the process of heating the filled jars of food for a certain amount of time in hot water in a pot on the stove. (See video below). Then when they are removed from the hot water and cool, the lids seal because of the air cooling in the top of the jar.

This post contains affiliate links, which means I make a small commission at no extra cost to you. See my full disclosure here
Ingredients:
How To Make Pickled Garlic Scapes
Prepare jars by washing and allowing to air dry.
Stuff garlic scapes into one wide-mouth jar, and then fill with water. Dump water out into a measuring cup to estimate how much hot brine you will need per jar.

Fill the rest of the jars with bunches of garlic scapes.
Combine vinegar, water, salt & sugar in a large pot on the stove and turn on high to begin heating.
Add peppercorns and mustard seeds to each jar. Add red pepper flakes and dill if using.
When brine is hot, pour it into each jar to within a half inch of the top of the jar.

Wipe rims of each jar with a clean cloth.
Place lids and rings on jars and tighten until hand tight.

Add to hot water in canner and place a lid loosely over the pot.
Once water in canner comes to a boil, start your timer for 10 minutes.
After 10 minutes, remove jars from canner and place on a towel covered surface. Leave at room temperature for a few hours.
Once jars are cool, check to make sure each jar has sealed, and then remove rings. Place on shelf in pantry. Will keep for 1-2 years at least.
I hope you enjoy this delicious recipe as much as we do. If you do, please let us know in the comments below and give the recipe a 5 star rating. Thanks for following along as we teach you how to grow a simple, sustainable life.
Pin For Later


Pickled Garlic Scapes - Simple Canning Recipe
Equipment
- Wide-mouth quart or pint jars
- Lids and rings - my favorite lids and rings are from For Jars USA
- Water bath canner or large pot with a trivet in the bottom
- Jar lifter - for lifting hot jars out of the canner
- measuring cups and spoons
Ingredients
- Garlic Scapes
- 2 ½ cups water
- 2 ½ cups vinegar
- 3 Tbl. salt
- 2 Tbl. sugar
- 1 ½ tsp. mustard seed per quart jar
- 1 ½ tsp. black peppercorns per quart jar
- Dill optional
- ½ tsp. red pepper flakes per jar optional - for spicy pickles
Instructions
- Prepare jars by washing and allowing to air dry.
- Stuff garlic scapes into one wide-mouth jar, and then fill with water. Dump water out into a measuring cup to estimate how much hot brine you will need per jar.
- Fill the rest of the jars with bunches of garlic scapes.
- Combine vinegar, water, salt & sugar in a large pot on the stove and turn on high to begin heating.
- Add peppercorns and mustard seeds to each jar. Add red pepper flakes and dill if using.
- When brine is hot, pour it into each jar to within a half inch of the top of the jar.
- Wipe rims of each jar with a clean cloth.
- Place lids and rings on jars and tighten until hand tight.
- Add to hot water in canner and place a lid loosely over the pot.
- Once water in canner comes to a boil, start your timer for 10 minutes.
- After 10 minutes, remove jars from canner and place on a towel covered surface. Leave at room temperature for a few hours.
- Once jars are cool, check to make sure each jar has sealed, and then remove rings. Place on shelf in pantry. Will keep for 1-2 years at least.
- I hope you enjoy this delicious recipe as much as we do. If you do, please let us know in the comments below and give the recipe a 5 star rating. Thanks for following along as we teach you how to grow a simple, sustainable life.


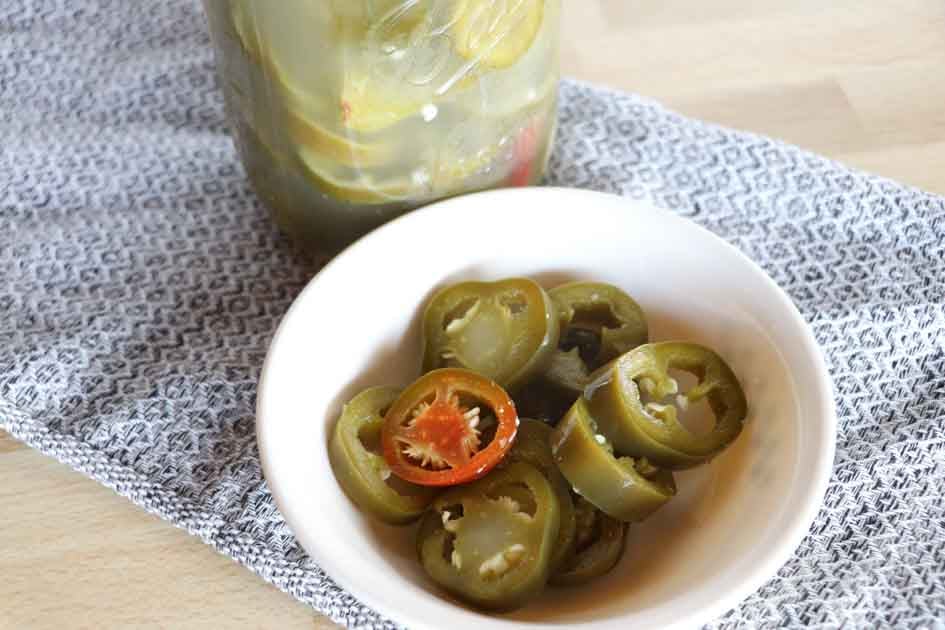


These pickled garlic scapes are so good! Definitely a great way to use them up!