How To Make Butter From Raw Milk
Learning how to make butter from raw milk will be simple and easy when you follow this no-fail recipe. If you've never had fresh raw butter you're missing out on a real treat. In this tutorial I’ll show you the easiest and quickest way to make your own raw butter at home. You don't any special equipment other than a food processor or blender for this simple recipe that I’ve been making for years. And the best part is that the whole process only takes a few minutes to complete.

What Is Homemade Butter?
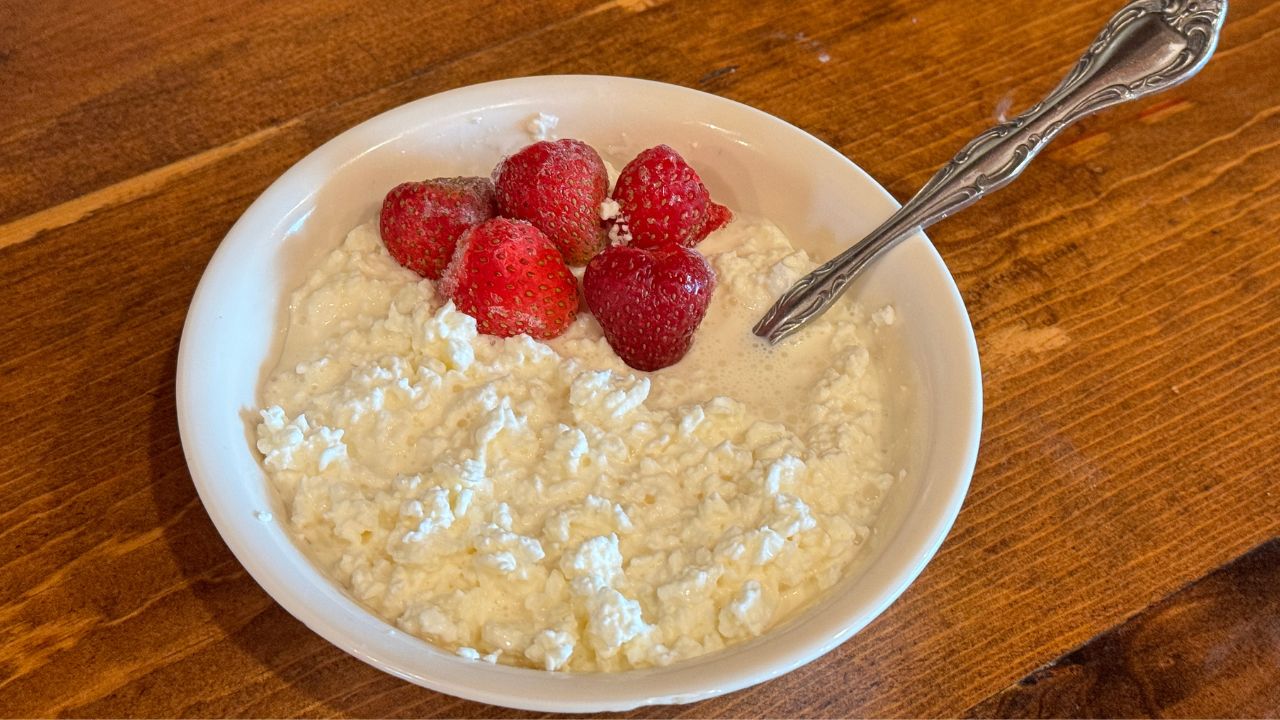
Butter is a fat that comes from the cream produced by cows. It has been used in fresh eating, cooking and baking for thousands of years. It is one of the oldest foods on the planet and contains lots of beneficial vitamins, minerals and antioxidants to help your body thrive. To get the most benefit from dairy products, you’ll want to consume them raw if possible. You can do that by purchasing raw milk from local farmers, or you can get a milk cow.
My experience
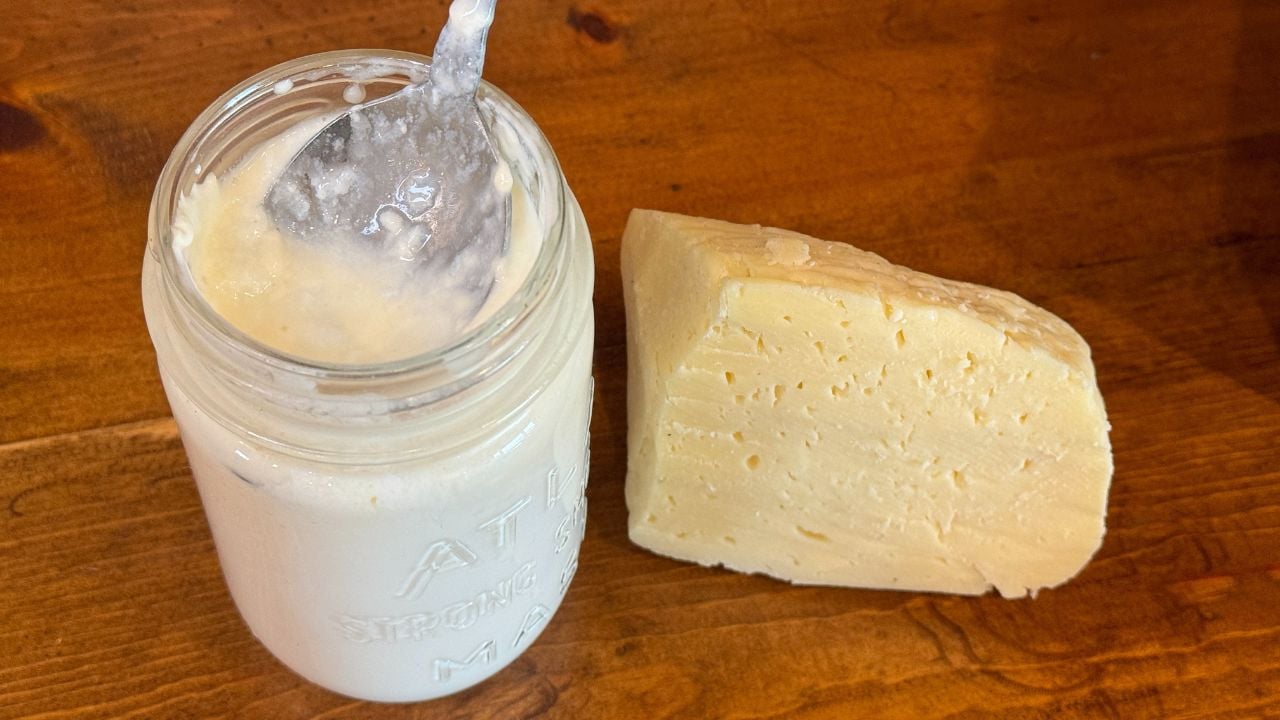
I’ve been milking dairy cows for the last fifteen years and in that time I’ve learned a lot about dairy cattle. I've learned how to make all of our own dairy products including all of our hard cheeses. This has made a big difference in our grocery bill and has kept our family healthy and thriving. Having a family dairy cow is a lot of responsibility, but the rewards are so worth it! When learning about dairy cows, or any new homesteading skill, I suggest that you take it slow and learn one or two things at a time so it’s not so overwhelming. There’s lots to learn, but I’m here to help you and make it easier for you!

Where Does Butter Come From?
Cows produce cream as part of their milk. When you chill the milk, the cream rises to the top and separates from the milk. The cream is the thicker portion of the milk and can be used to make many things including whipped cream, butter, ice cream, sour cream, cream cheese and more! There’s nothing quite like putting fresh cream into your coffee or tea in the morning. It will become one of your favorite things.
Cream is always in high demand and is even better for you if it is raw cream that comes straight from the cow. You can purchase a cream separator to separate the cream from the milk without having to chill it first. If you run your milk and cream through a separator, the cream will be nice and thick and this works really well for making whipped cream, etc. I don’t like to do all of the dishes made by the cream separator everyday. I typically just skim the cream off the top of a large jar of chilled milk with a ladle or measuring cup. It is very simple and easy to do. While the cream may not be quite as thick because sometimes it ends up with trace amounts of milk in it, it works just fine for all of the things I need to make in my kitchen including butter.
Homemade butter will always be fresher than store-bought butter and without any added fillers. Also, if you're buying cream from a local farmer or producing it on your own homestead, you can stay aware of what your cows are eating so there are no chemicals in your butter.
How Is Butter Made?
Butter is made by beating cream until it separates the butterfat, which is what we call butter, from the liquid buttermilk which is the liquid portion of the cream. The easiest way to separate butter from buttermilk is to put it into a food processor with a tight-fitting lid that seals. You can also use a blender, stand mixer or hand mixer, but the food processor beats the cream faster. This allows the butter to break from the buttermilk much more quickly than a mixer or a blender. You can also purchase a butter churn that is similar to the old-fashioned hand crank butter churns that they used to use, but a food processor is less expensive and works just as well.

After the butter is separated from the buttermilk, it is washed in cold water to remove all the trace amounts of buttermilk. Buttermilk that is left in the butter will culture and start to give the butter a more sour taste especially when left out on the counter. The best butter has all the buttermilk washed out and then is salted which also helps to preserve it. Good raw butter can last on the counter for more than a week, and much longer in the refrigerator or freezer.
What is Butter Milk
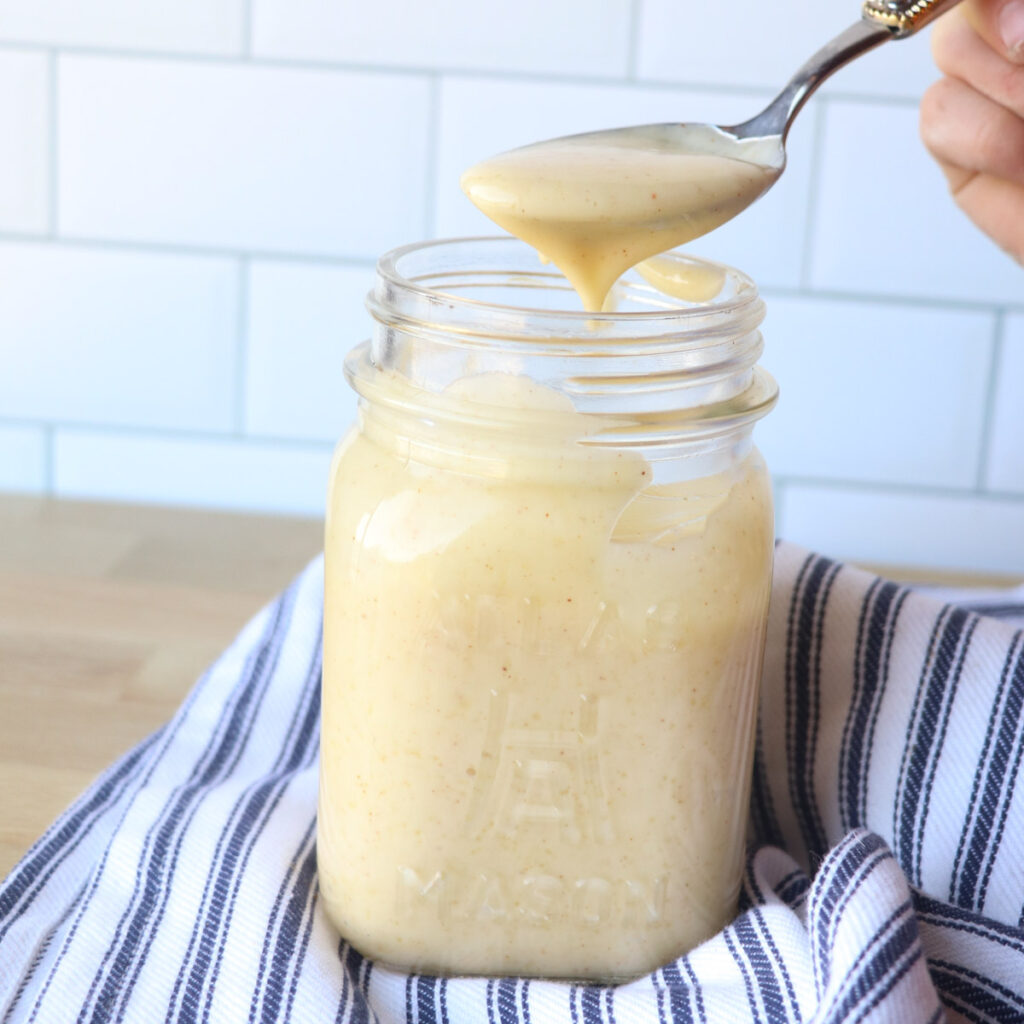
Buttermilk is also very good for you and can be used to make a lot of yummy things. Some of our favorites are ranch dressing, biscuits, syrup, and bread. If you let buttermilk set out on the counter for a few hours, it will become thick and cultured and will make the yeast or sourdough in your baked goods extra happy. If you have too much buttermilk to bake with you can always pour it on your plants or feed it to your chickens, pigs or other animals that will drink it.
Be sure to try our favorite buttermilk syrup recipe the next time you make pancakes or waffles.
Ways To Eat Homemade Butter?
On sourdough toast with jam or with over-easy eggs for breakfast

Butter can be used in place of oil in almost any baking recipe like pancakes, waffles, sourdough chocolate chip banana muffins, sourdough bread or amish white bread.
Use butter to grease your pans before baking cakes or bread
Almost all cookie recipes call for a lot of butter and fresh butter makes the best cookies
Use butter to grease your skillets before frying onions, garlic, veggies or meat
Add dried or fresh herbs to your butter to make a compound butter. Use on steaks and in other savory cooking
Combine butter and honey to make honey butter
Tips For Making Your Own Homemade Butter
- Let your cream sit out on the counter and come to room temperature before mixing. It will break into butter and buttermilk much more quickly.
- If you accidentally let your cream sit out on the counter too long and it starts to culture and turn into sour cream, you can still use it for making butter. The butter might have a bit of a sour taste depending on how well you rinse the buttermilk out. If you don't like the taste of it as much as you like the taste of sweet cream butter, just use it in baking. It will be just fine.
- Save your buttermilk in a mason jar in the refrigerator and use it in place of milk or water in all of your baking recipes.
- Wash your butter in cold water really well to make sure that all the buttermilk is out of it. This will help it stay fresh for a long time.
This post contains affiliate links, which means I make a small commission at no extra cost to you. See my full disclosure here


Homemade Butter Recipe
Place heavy whipping cream into food processor with the chopper blade. Don’t fill over halfway to allow room for the cream to expand as it’s whipped.

If you choose to make butter in a stand mixer, pour cream into the bowl of a stand mixer, and use the whisk attachment. Just remember to watch it closely because when the butter breaks it can make a big mess sloshing the buttermilk out of the mixer. That's why I prefer to make butter in a food processor.
Close lid tightly and process on high until cream separates into butter and buttermilk. Before the butter breaks from the buttermilk, the cream will go through the whipped cream stage where stiff peaks will form on the top of the cream. Keep going, it hasn't broken into butter yet. Once it fully breaks, you will be able to see the yellow clumps of butter fat floating in the buttermilk.

Remove the blade from the food processor. Scoop out the butter and place into a medium sized mixing bowl. You can also pour the butter and buttermilk through a fine-mesh sieve placed over a bowl to catch the buttermilk and separate it from the butter.
Pour buttermilk into a jar to store in the refrigerator.
Repeat the above steps if you have more cream to turn into butter.
Rinse Butter
When all the butter is made, take your bowl of butter to the sink. Gently work the butter back and forth while running very cold water through it (see video below). Do this for several minutes until the water runs clear and all the buttermilk has been washed out of the butter.
Squeeze as much of the water out of the butter as possible. You can also work the butter with a paddle or wooden spoon to remove any excess liquid if desired. I find that it’s just fine without that extra step.
Add salt to taste, starting with about ½ teaspoon per pound of butter. Mix well.
If you'd like to make unsalted butter, be sure to store your butter in the refrigerator as the salt in the butter acts as a preservative.

Place into butter molds and refrigerate, or just leave in a bowl on the counter to use in all of your cooking.
You can also wrap clumps of butter in parchment paper, plastic wrap or other airtight container and freeze for later use. Butter can be frozen for 6-12 months.
Pin For Later


Homemade Butter The Easy Way
Equipment
- 1 milk strainer
- 1 milk filters
- 1 food processor
- 1 mixing bowl
- 1 stick butter mold
- 1 wooden butter molds
- 1 electric butter churn
Materials
- Raw cream or heavy whipping cream
- Salt
Instructions
- Place heavy whipping cream into food processor with the chopper blade. Don’t fill over halfway to allow room for the cream to expand as it’s whipped.
- If you choose to make butter in a stand mixer, pour cream into the bowl of a stand mixer, and use the whisk attachment. Just remember to watch it closely because when the butter breaks it can make a big mess sloshing the buttermilk out of the mixer. That's why I prefer to make butter in a food processor.
- Close lid tightly and process on high until cream separates into butter and buttermilk. Before the butter breaks from the buttermilk, the cream will go through the whipped cream stage where stiff peaks will form on the top of the cream. Keep going, it hasn't broken into butter yet. Once it fully breaks, you will be able to see the yellow clumps of butter fat floating in the buttermilk.
- Remove the blade from the food processor. Scoop out the butter and place into a medium sized mixing bowl. You can also pour the butter and buttermilk through a fine-mesh sieve placed over a bowl to catch the buttermilk and separate it from the butter.
- Pour buttermilk into a jar to store in the refrigerator.
- Repeat the above steps if you have more cream to turn into butter.
- When all the butter is made, take your bowl of butter to the sink and start gently working it while running very cold water through it (see video below). Do this for several minutes until the water runs clear and all the buttermilk has been washed out of the butter.
- Squeeze as much of the water out of the butter as possible. You can also work the butter with a paddle or wooden spoon to remove any excess liquid if desired. I find that it’s just fine without that extra step.
- Add salt to taste, starting with about ½ teaspoon per pound of butter. Mix well.
- If you'd like to make unsalted butter, be sure to store your butter in the refrigerator as the salt in the butter acts as a preservative.
- Place into butter molds and refrigerate, or just leave in a bowl on the counter to use in all of your cooking.
- You can also wrap clumps of butter in parchment paper, plastic wrap or other airtight container and freeze for later use. Butter can be frozen for 6-12 months.


So easy, So Good
Love this recipe, thank you for sharing!