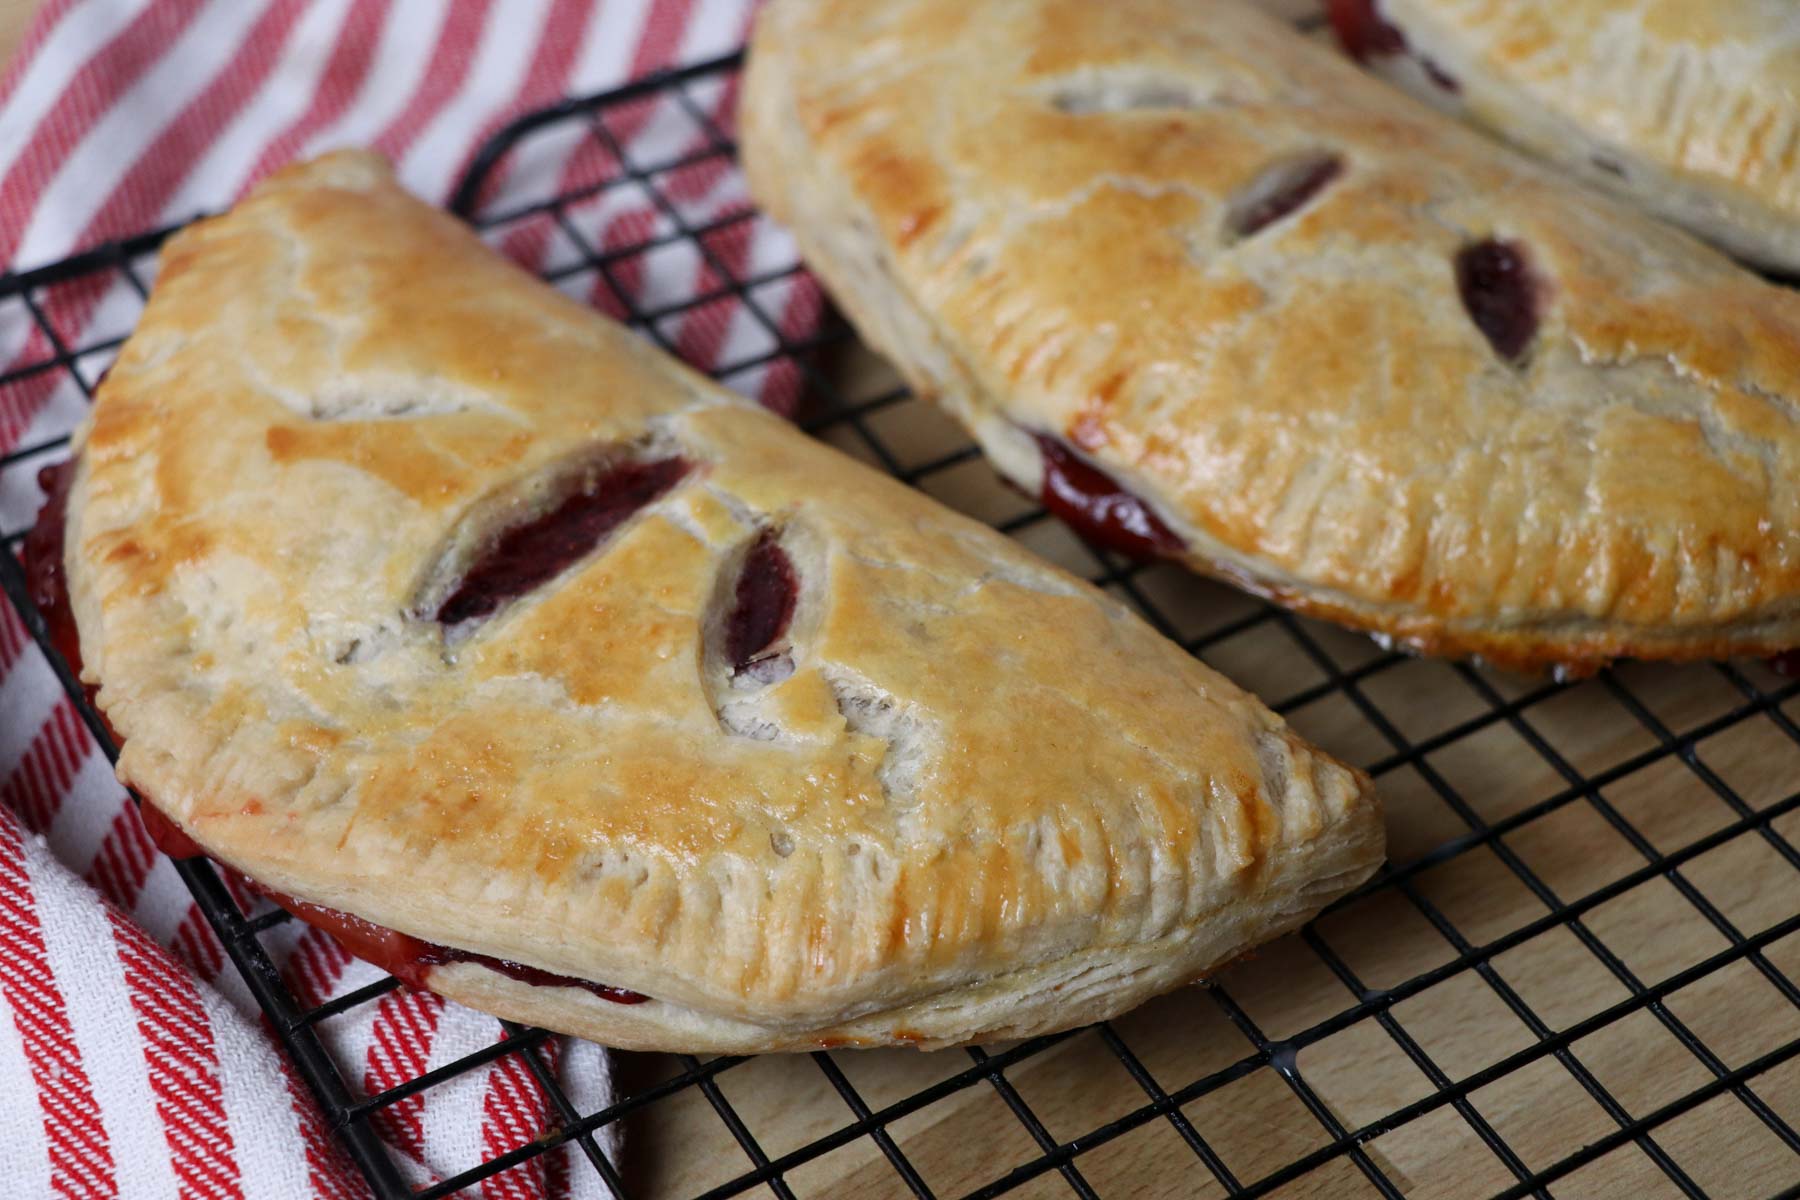
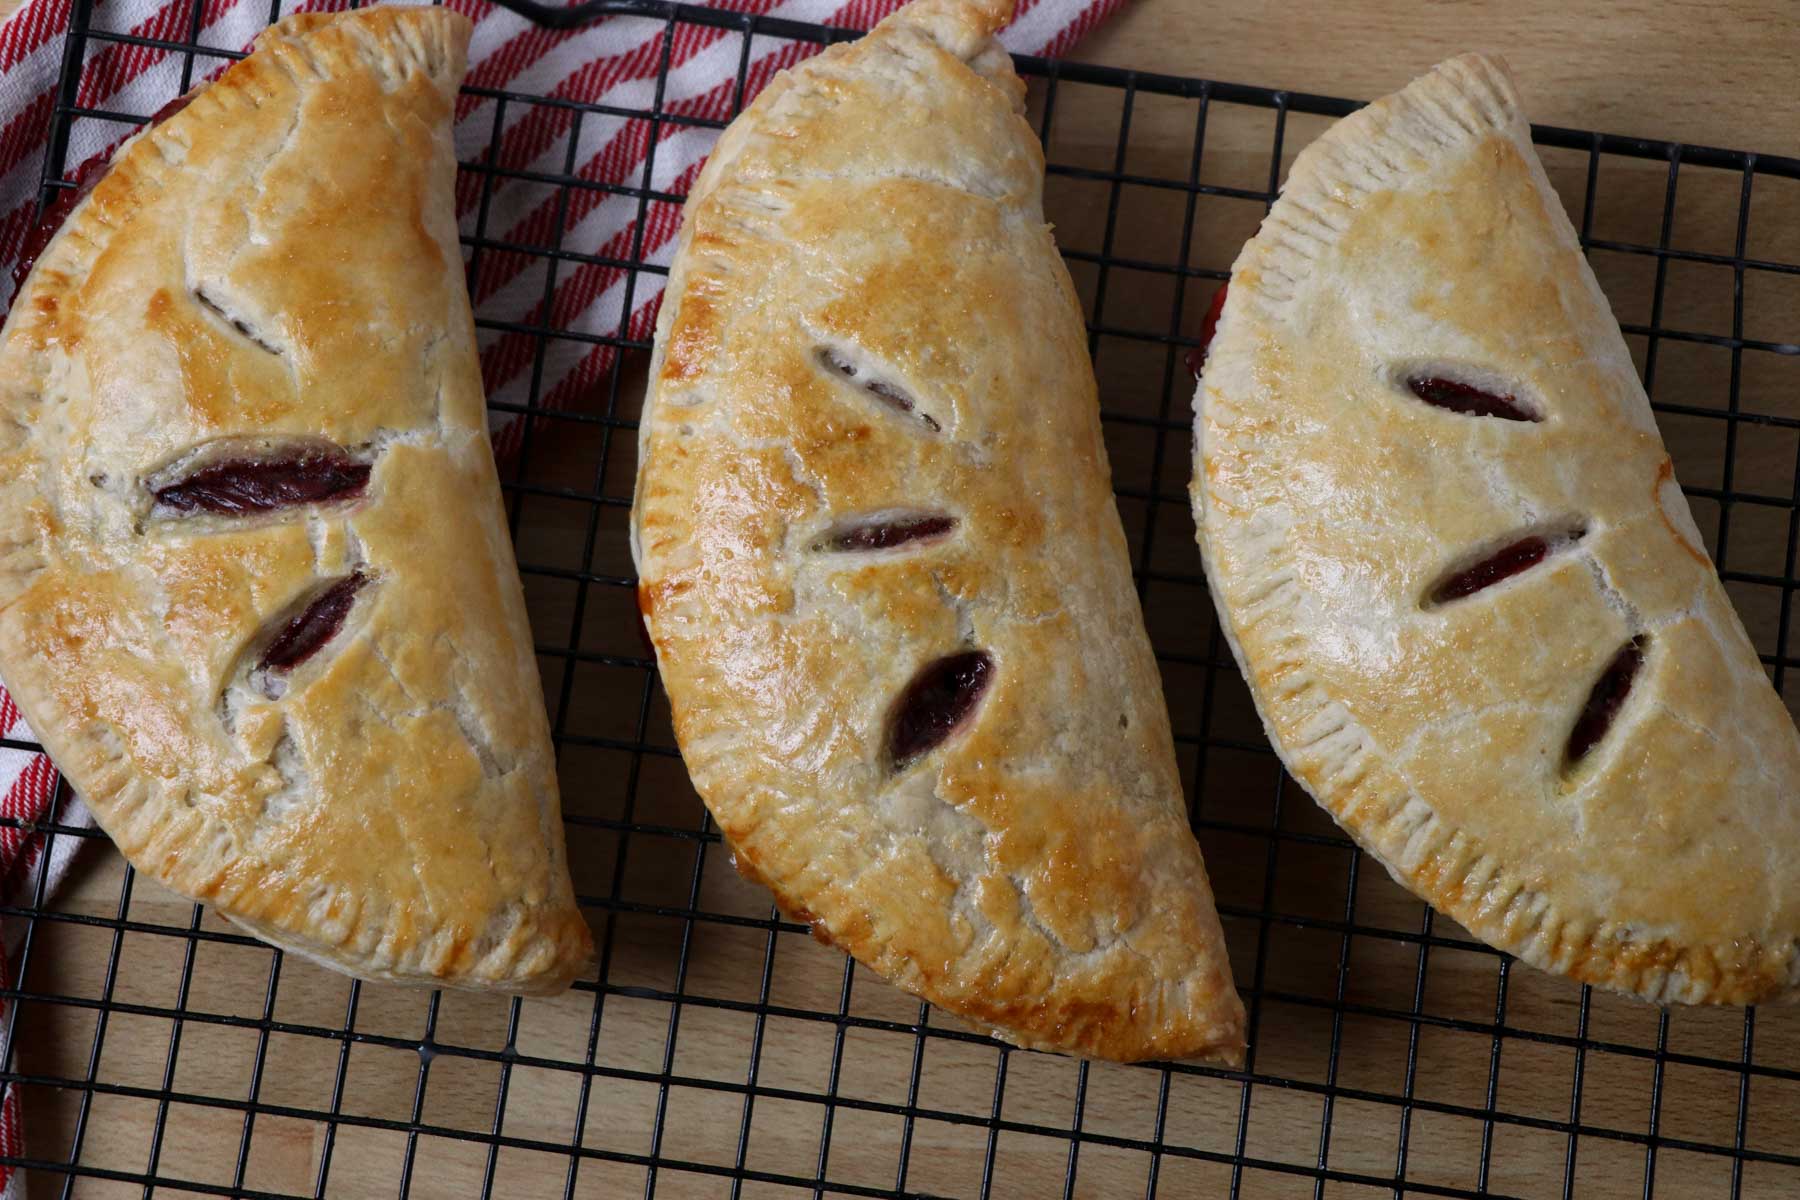
Sourdough Hand Pies

These sourdough hand pies are the perfect treat. Perfectly flaky sourdough crust wrapped around a cozy homemade filling. They are crisp and tender, and it's impossible to just eat one. Hand pies are an old-fashioned treat so called because they are little pies that can be held in your hand and eaten without a plate or silverware. This makes them perfect for eating on the go, putting in lunches, or taking along for a picnic to the park.
My kids really enjoy anything made with a flaky pie crust, so anytime I have extra pie crust, I like to make these sourdough hand pies. They are also really good when made with different kinds of pie fillings, or add savory fillings and make savory pies. I like to take a jar of my home canned apples, add a little bit of flour and cinnamon to them which makes them into an apple pie filling, and use this for a filling in the hand pies. It's one of my family's most requested desserts.
Quick Look: Sourdough Hand Pies
- ⏱️ Prep Time: 15 minutes
- 🍳 Cook Time: 25 minutes
- 🕒 Total Time: 40 minutes
- 👥 Servings: 8
- 📊 Calories: ~130 kcal per serving (based on nutrition panel)
- 🔥 Cook Method: Oven-baked on baking sheet
- 👩🍳 Flavor Profile: Buttery, flaky, and slightly tangy with a crisp golden crust and sweet or savory filling.
- ⭐ Difficulty: Easy – beginner-friendly, simple rolling, filling, and baking.
SUMMARIZE & SAVE THIS CONTENT ON
Jump to:
Why You'll Love This Recipe
- Quick and easy - all you need is pie crust and some jam or pie filling to make these easy treats
- Delicious - you wouldn't think that something so simple could be so delicious, but these hand pies are. Just like regular pie, but simple enough to be eaten by hand.
- Healthy - made with sourdough pie crust, these hand pies are easily digestible and good for your gut.
Be sure to watch our full tutorial on how to make your own sourdough starter here.
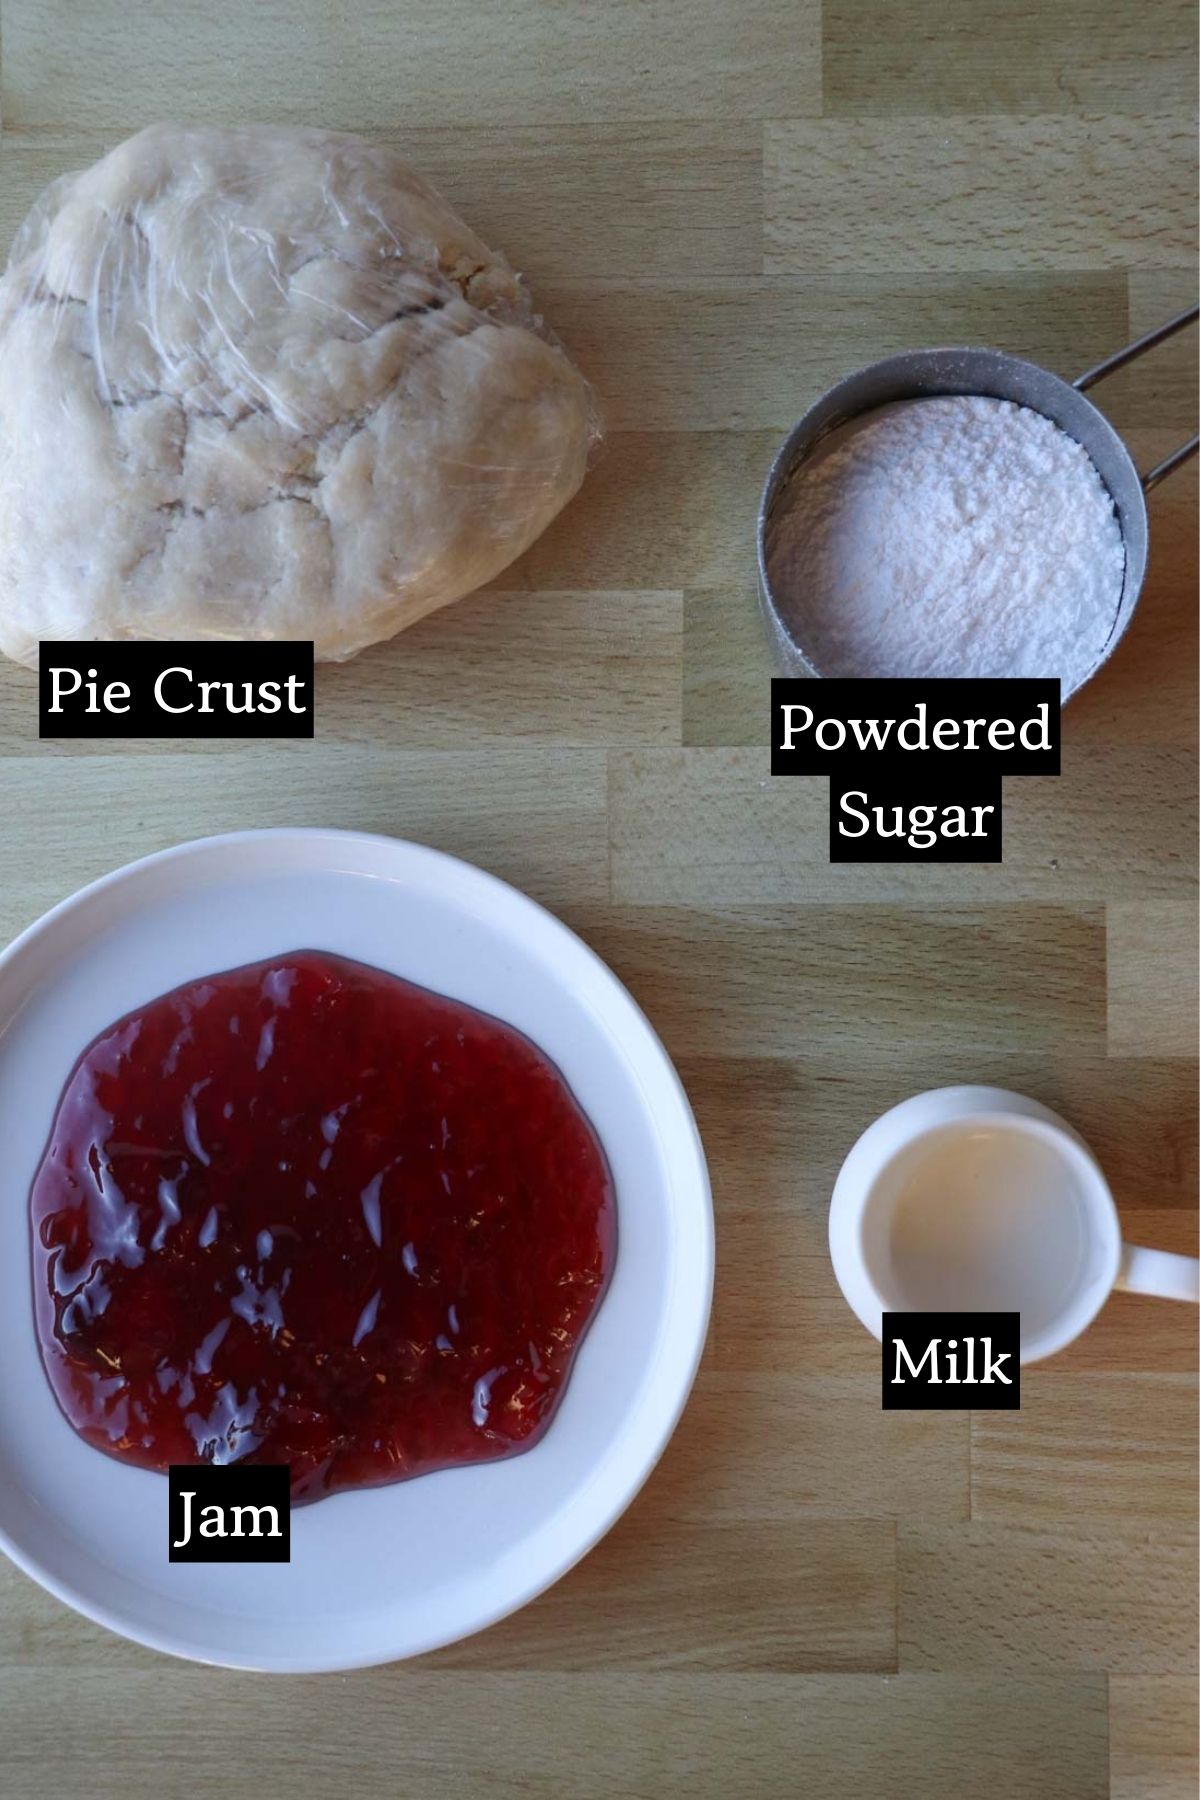
Ingredients
This post contains affiliate links, which means I make a small commission at no extra cost to you. See my full disclosure here
Filling ideas:
How To Make Sourdough Hand Pies
Preheat your oven to 350° and line a baking sheet with parchment paper.
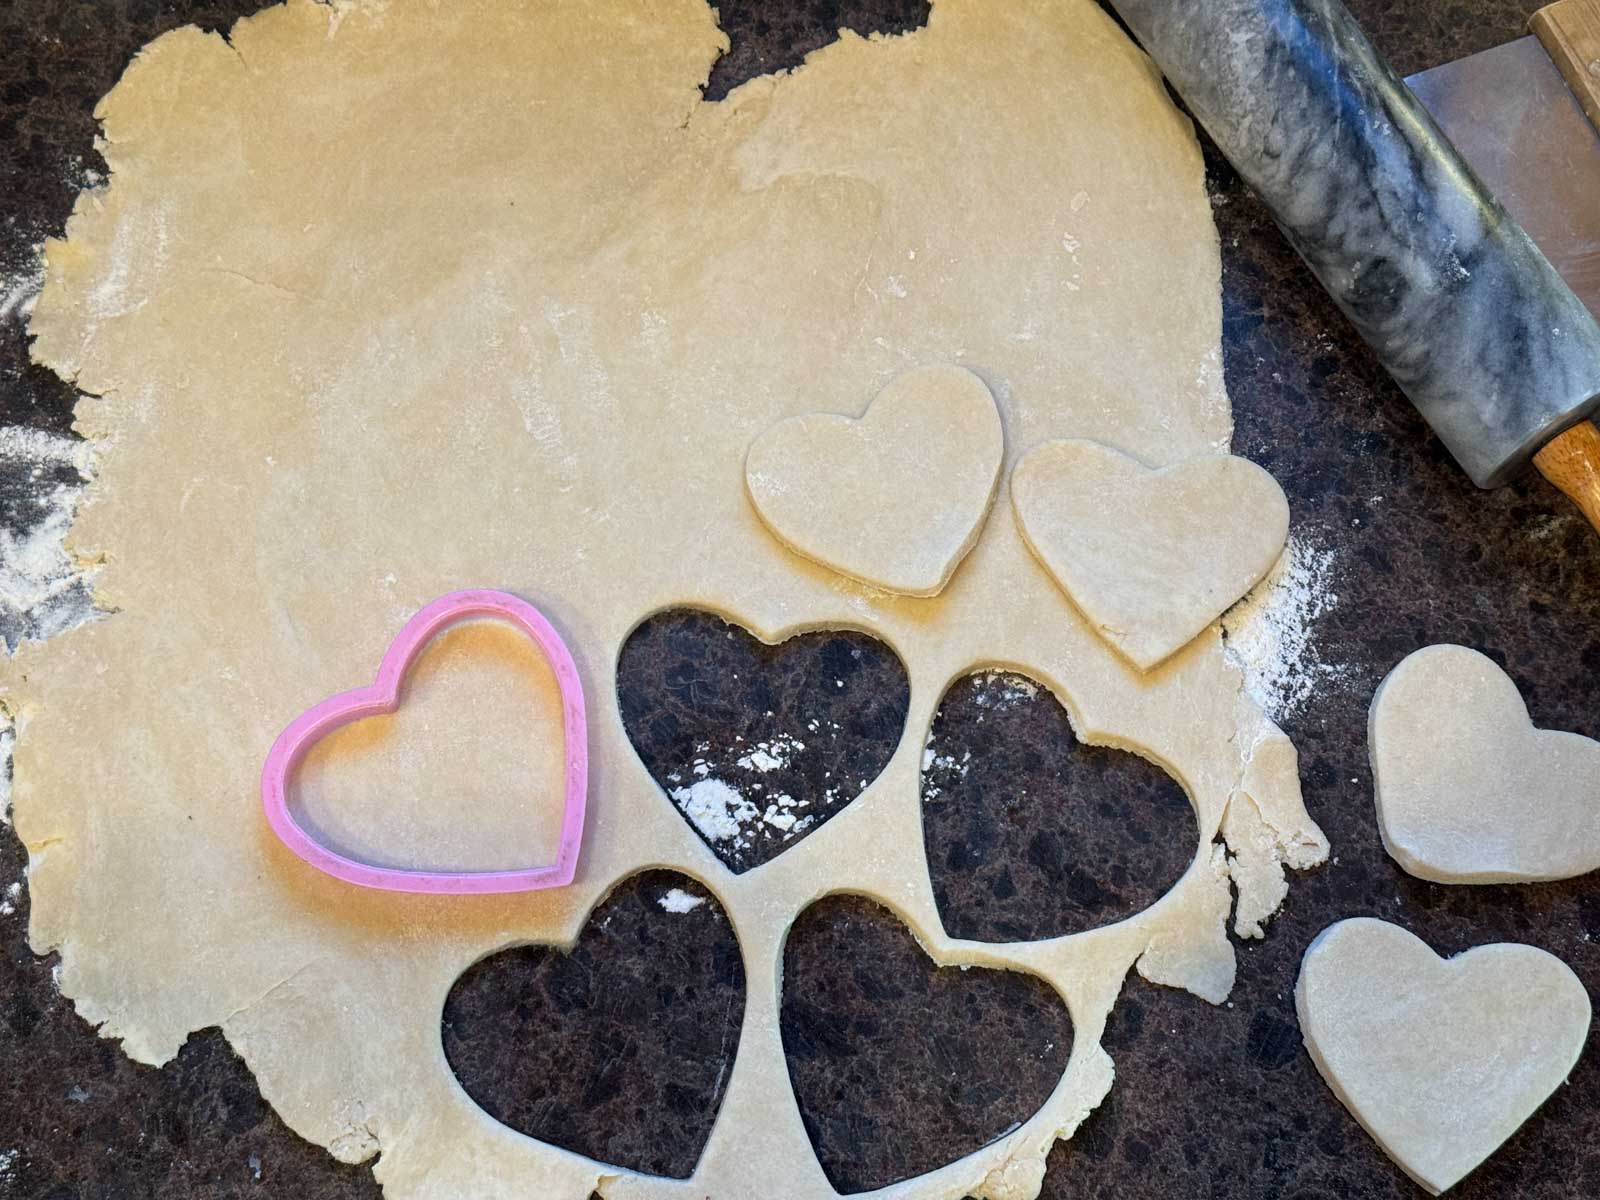
Roll your pie dough out on a lightly floured work surface as thin as possible
Place a round cereal bowl upside down on your rolled-out pie crust dough.
Using a sharp knife cut around the outside edge of the bowl, making a round piece of pie dough. it does not have to be perfect. You can also use a 5" round or heart-shaped cookie cutter. If using a heart shaped cookie cutter, cut a bottom piece of dough and a top piece of dough. Place the filling on the bottom piece of dough, and then cover with the top piece. Crimp with a fork.
Add a small amount of filling to one side of your round-shaped piece of pie dough. The exact amount of filling you will need depends on how big your circle is. Usually a quarter cup is a good starting point. Be careful not to add too much filling or it will just leak out along the seam.
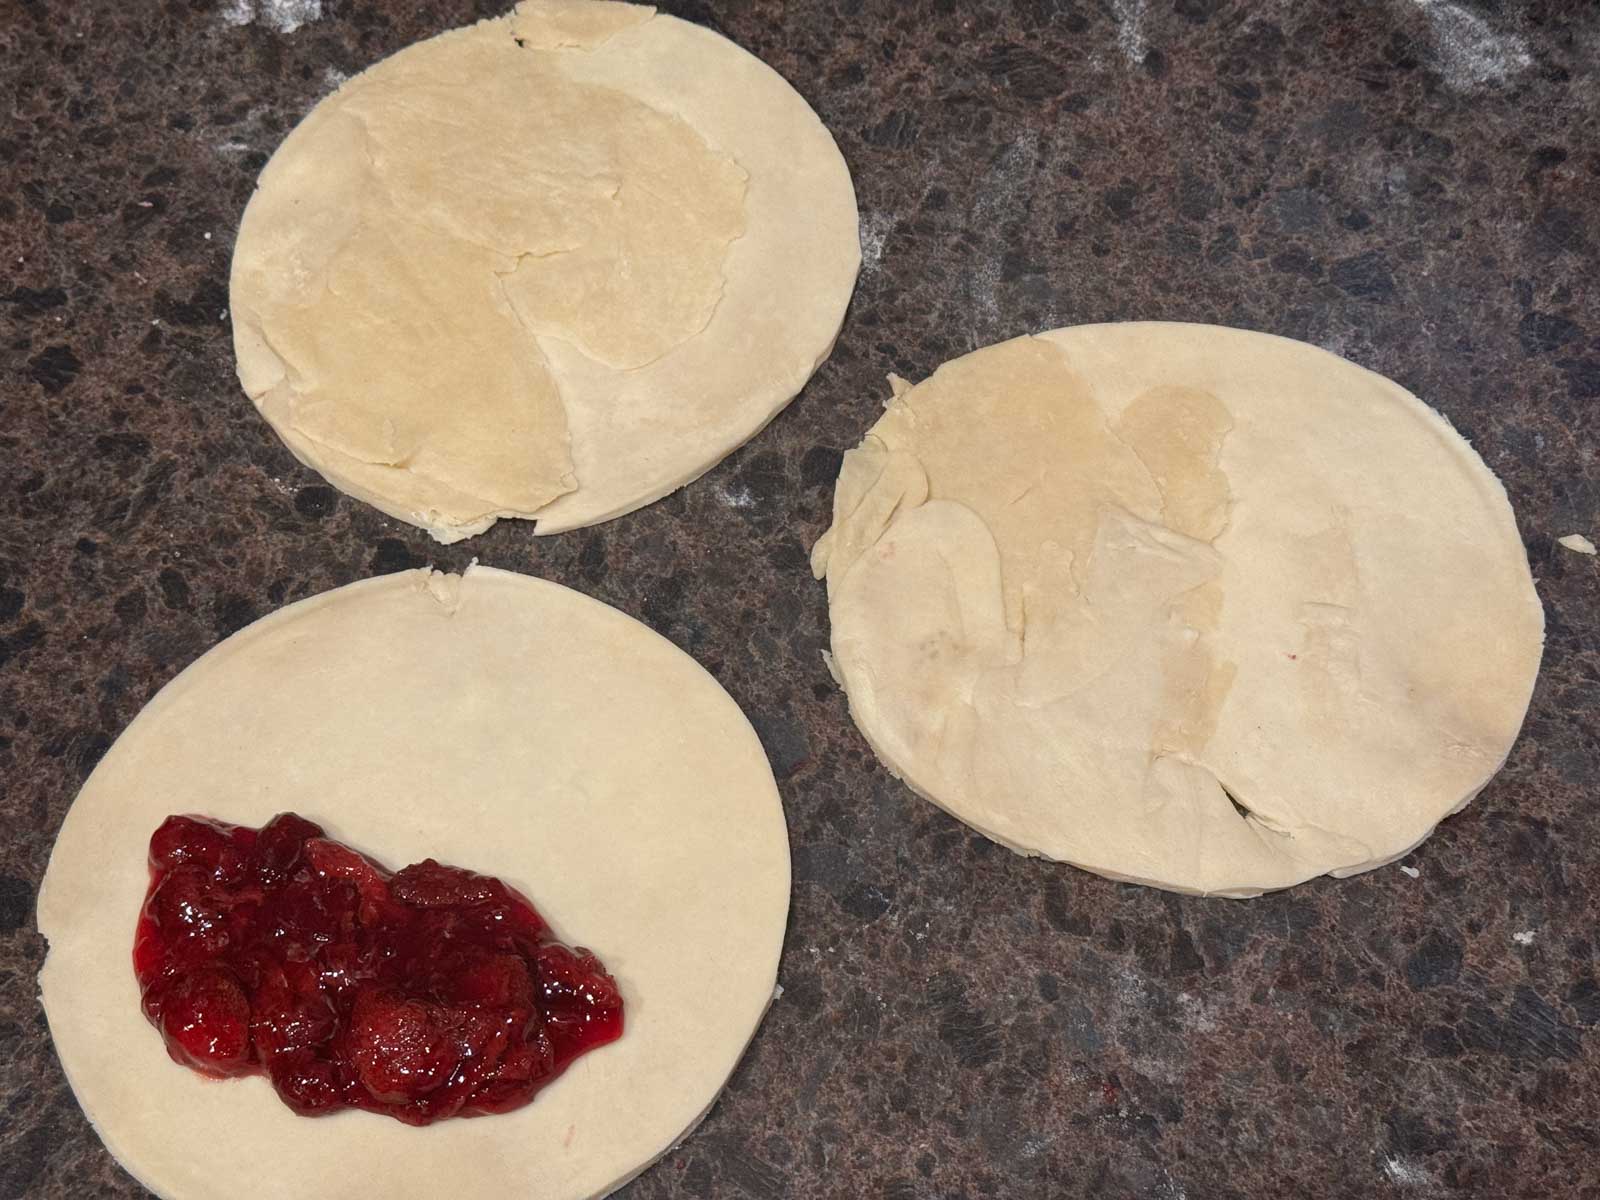
Fold the other side over the top and use a fork to crimp the edges
Using a sharp knife, cut small slits in the tops of the hand pies to allow steam to escape while baking. Place on the parchment-lined baking sheet.
In a small bowl whisk the egg and one tablespoon of water with a fork until frothy. Brush the egg mixture on top of the hand pies using a pastry brush. This step is optional, but it will give the pies a nice golden color.
Bake for 20 to 25 minutes or until the top is golden brown.
Enjoy with a cold glass of milk - you’ll never taste anything better.
Store leftovers in an airtight container in the refrigerator for up to one week.
Reheat in a 325° oven for 5 to 10 minutes before eating if desired
Tips
- Make the sourdough pie crust ahead of time and keep it in the refrigerator wrapped in a piece of plastic wrap.
- You can also make these hand pies out of sourdough puff pastry. If you use an apple filling in them, they will taste like apple turnovers.
- Make sure to keep the dough cold to ensure flaky layers.
- Brush the tops with an egg wash for a golden shine.
- Use up leftover meat and veggies in your refrigerator for new filling options.
- You can make these into different shapes like squares, rectangles, or hearts by cutting the dough accordingly, or by using a cookie cutter to to cut out the bottom and top shape of the dough.
- Sourdough hand pies can be frozen in a freezer-safe container or freezer bag for up to 6 months before baking. When you’re ready to eat them, just pull the unbaked hand pies out of the freezer and bake as normal.

Sourdough Hand Pies FAQs
A hand pie is a little pie that can be eaten out of your hand
The difference in a turnover and a hand pie is basically the shape of it. A hand pie is traditionally half-moon shaped, and a turnover is usually in the shape of a rectangle, like Pop-Tarts.

Sourdough Hand Pies
Equipment
- 1 Rolling Pin I like my marble rolling pin because its heavyweight makes rolling out pie crust really easy.
- 1 Bench scraper
- 1 parchment paper
- 1 Baking sheet
- 1 Fork for crimping the edges
- 1 Small saucepan for making your own filling, optional
- 1 sharp knife for cutting slits in the hand pies
Ingredients
- 2 batches Sourdough pie crust, or store-bought pie crust
- All purpose flour for rolling out the dough
- 2 cups Jam or pie filling (or other savory filling)
- 1 Egg plus a splash of water, whisked
- 3 tablespoon Coarse salt or sugar, optional
Instructions
- Preheat your oven to 350° and line a baking sheet with parchment paper.
- Roll your pie dough out on a lightly floured work surface as thin as possible
- Place a round cereal bowl upside down on your rolled-out pie crust dough.
- Using a sharp knife cut around the outside edge of the bowl, making a round piece of pie dough. it does not have to be perfect. You can also use a 5" round or heart-shaped cookie cutter. If using a heart shaped cookie cutter, cut a bottom piece of dough and a top piece of dough. Place the filling on the bottom piece of dough, and then cover with the top piece. Crimp with a fork.
- Add a small amount of filling to one side of your round-shaped piece of pie dough. The exact amount of filling you will need depends on how big your circle is. Usually a quarter cup is a good starting point. Be careful not to add too much filling or it will just leak out along the seam.
- Fold the other side over the top and use a fork to crimp the edges
- Using a sharp knife, cut small slits in the tops of the hand pies to allow steam to escape while baking. Place on the parchment-lined baking sheet.
- In a small bowl whisk the egg and one tablespoon of water with a fork until frothy. Brush the egg mixture on top of the hand pies using a pastry brush. This step is optional, but it will give the pies a nice golden color.
- Bake for 20 to 25 minutes or until the top is golden brown.
- Enjoy with a cold glass of milk - you’ll never taste anything better.
- Store leftovers in an airtight container in the refrigerator for up to one week.
- Reheat in a 325° oven for 5 to 10 minutes before eating if desired


So Good
So easy!